
 Careers
How To Setup Zend Framework 3 On Cloud Hosting

Zend is one of the popular PHP frameworks. In all the cases, the performance of the Zend framework is completely dependent on the hosting of the project. In various cases, managed cloud hosting is considered the best option for the Zend framework.
Many users don’t know how to install Zend framework 3 on cloud ways. Here’s how you can set up your Zend framework 3 on cloud hosting by following our complete detailed guide of Zend framework hosting on cloud ways.
An Introduction to Zend Framework
Zend is an open source PHP development framework. Zend supports object-oriented programming and consists of a huge library of components and packages which can be installed and used independently. Zend framework is the most stable and latest version which supports PHP 7.
Let’s start with the installation process.
To setup the Zend framework on the cloud, you need to make an account. Arpatech provides managed cloud hosting services which are robust and the most reliable hosting service for website owners and e-commerce stores. If you do not have your cloud account, get your managed cloud hosting here.
Create a Server and an Application
Log in to your cloud account and create the server. Fill in the server and the application details. Select PHP stack as the application and provide your application name. Server name and other project details. Select your cloud provider, scale the server size according to your requirements, choose your location and launch the server. In less than few minutes, your cloud server and your application are ready to work.
Launch SSH Terminal
Since your application and server is ready, open the server now by clicking the server name.
Next, click on the Launch SSH Terminal button, as displayed in the screenshot below.
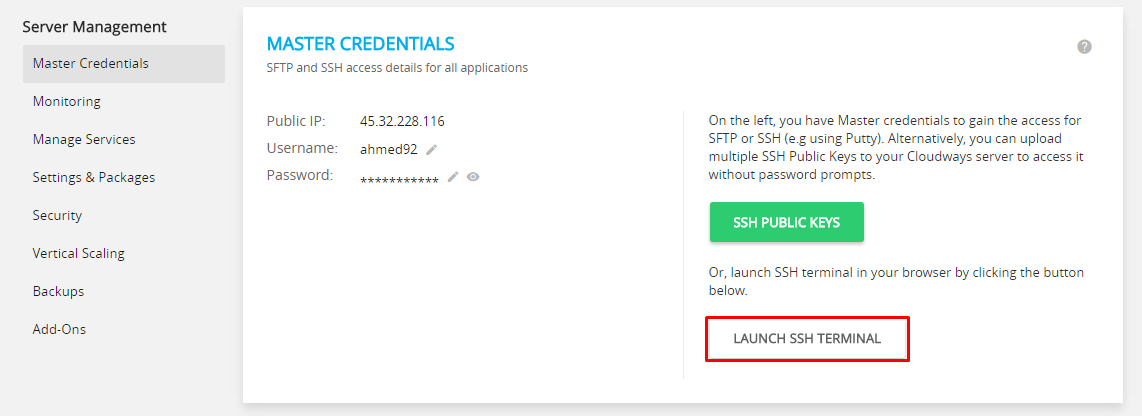
Log in with the username and the passwords provided in the Master credentials.
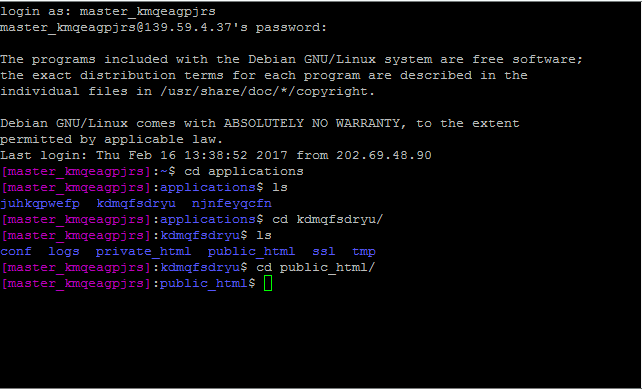
How to install Zend 3
To install the Zend framework 3, go to the application folder, to go to the application folder, type the following commands.
cd application
ls
cd your application name
cd public_html
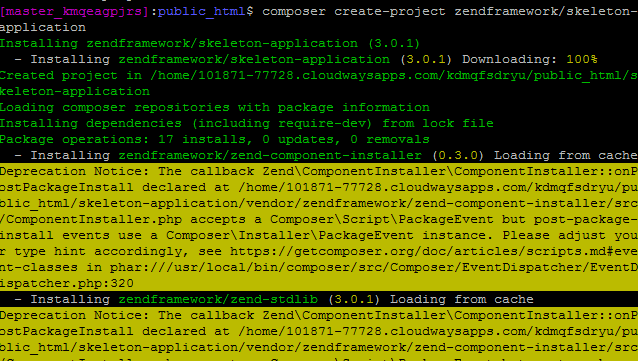
Type these following commands in order to start the installation of Zend framework 3.
composer create-project zendframework/skeleton-application
The installation of Zend framework 3 will start and you can see the process on the screen.
Several seconds later of installation, a dialog box will appear asking you the question: you want a minimal install? (With no optional packages) Y/N.
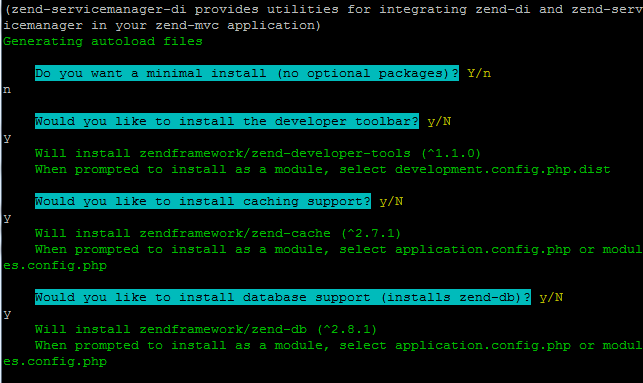
After answering the question, it will ask you about component installation. The installation will generate prompts for individual components and you can answer to them according to your requirements.
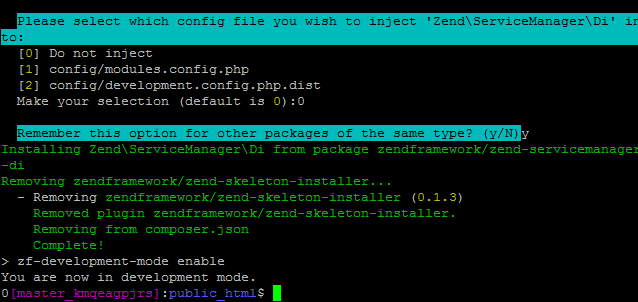
Next, the installation will ask you which file to inject, but for now, do not inject anything and select 0 for all.
Please select which config file you wish to inject ‘ZendDeveloperTools’ into:
[0] Do not inject
[1] config/modules.config.php
[2] config/development.config.php.dist
Make your selection (default is 0): 0

Finally, the following prompt will display on the screen.
zf-development-mode enable
You are now in development mode.
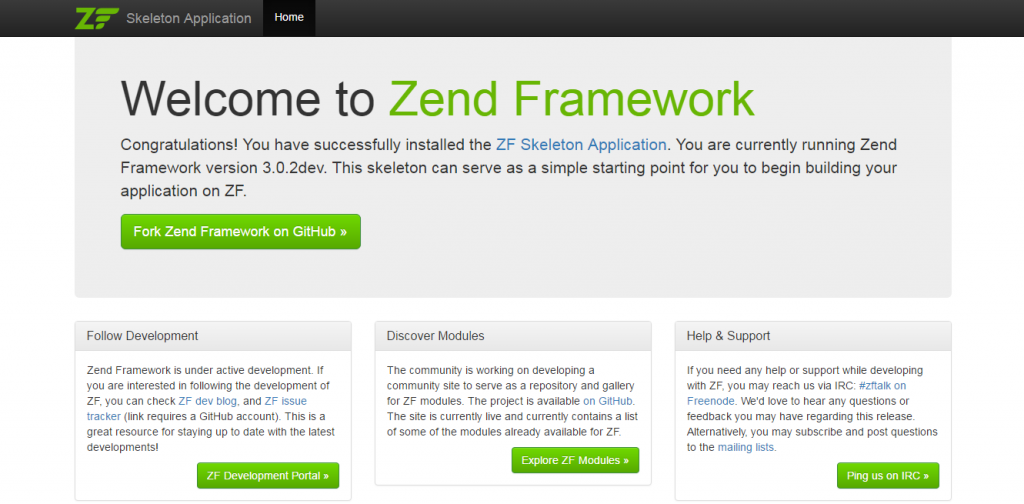
At last, the whole installation process is over now, it’s time for you now to launch the application from the menu.
Click on the launch application.
Don’t forget to append the /skeleton-application/public/ to the URL.
And you are done. Your Zend framework 3 development application is now live.
Wrapping up
In this tutorial, I tried to tell you in the easiest way as how to setup the Zend framework 3 on cloud hosting. I hope that you find this tutorial a helpful one. Do comment below if you are in seek of any help or would like to take part in the discussion.
Latest posts by Moiz Khan (see all)
- How to Use AI to Enhance your SEO Strategies? - August 31, 2023
- What You Need to Know About Test Automation in DevOps - August 30, 2023
- 6 Cloud Computing Challenges That Businesses Need to Be Aware of - August 22, 2023


