
 Careers
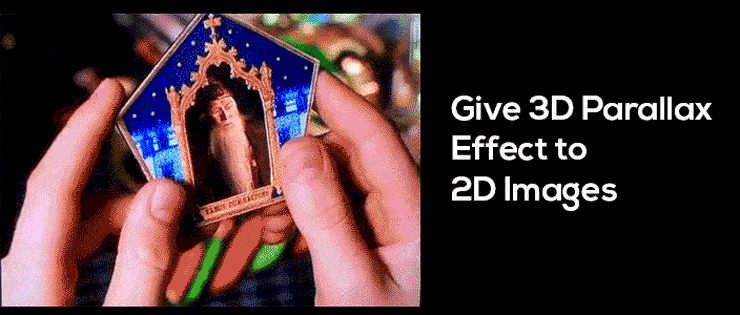
Give 3D Parallax Effect to the 2D Images Using Depth Map
3D Parallax effect if used correctly can add cool interactivity to your website that can grab your visitor’s attention. Therefore, some certain websites that have done excellent implementation of mouse following parallax effect. In this tutorial, we are going to replicate such effects.
Traditionally, a photograph used on which layers of elements are added and on mouse movement to create such effects. These different layers move with different speeds giving the illusion of depth. As, you can see in the example below, the scene divided into multiple layers. The layer that will move in slower speed and cover shorter distance will give the effect of being nearer to the observer.

Our client at Arpatech demanded to have such effects. But here’s the catch; it has applied on a real life photograph of a room like below.

Such complex scenery would require precise cutting of objects through Photoshop and then to make multiple layers out of them. Still, it would not look natural as the scene have not much distinct elements to play with. The most object images are blending with one another. Even, if we use the layers method, we will end up making the landing page heavy as the layers would be in PNG format due to the need of transparency. With the new method JPGs can be used, significantly reducing the load time of the page.
By the end of the tutorial you will be able to achieve this result:

Pretty cool, considering that it can achieve in a matter of minutes starting from just a normal 2d image.
The secret sauce behind it is the depth map. Apple uses this technique to create stunning portrait mode photos. It replicates the blur background effect of big lens cameras like DSLRs. What depth map do to provide distant information of each pixel in the photograph? iPhone 7 calculate the distance through the dual camera setup.

Luckily, we can create our own depth map using our own perception and a single Photoshop brush. Let’s get started:
How Depth Map Works:
To create a depth map, first you need to understand how depth maps work. It adds distance information to a 2d image and it uses only the shades of black. The darker the black one becomes the further away. So, it belongs in the scene and the lighter the black is the nearer it belongs. Precisely, complete white color means that the object is the nearest.

In the above image, the left one is actual RGB image and the right one is its depth map. Therefore, we can see the petals that are in lighter tone and the objects are distancing the tone of them are getting darker. In 3D terms, the tone of the color is representing the z-axis information of pixels.
Creating Depth Map Using Photoshop:
- Open your photograph in Photoshop

2) Create a new layer, fill it black and turn down the layer opacity to around 50% so you can see the original image below.

3) Turn down the Hardness of brush to 0% and start painting over on the black fill layer. Paint the objects with light tone that are nearer and paint the objects with dark tone that are further.

4) Turn up the opacity of the painted layer to 100% so you can see the final result.

It doesn’t look great. But, it gets the job done. Hence, we deliberately don’t have to do with the edges. It has shifted outwards to give the best result. Now, you save the file as jpg and make sure you save the same dimensions as the original image.
Setting Up The HTML Page:
To interpret the depth map, we are using pixi.js library’s Displacement Filtre.
Here is the complete code. Feel free to play with the values to adjust the effect according to your liking.
Now, change the original.jpg with the filename of your original 2d image file. Change depthmap.jpg with your newly created depth map.
Demo:
See the Pen Mouse Follow Parallax Effect Using Depth Map by @fatik on CodePen.
Using this method you can give subtle 3d parallax effect to 2d images in no time without running into much complexities. Thanks to Pixi library, the animations are very smooth.
Latest posts by Moiz Khan (see all)
- How to Use AI to Enhance your SEO Strategies? - August 31, 2023
- What You Need to Know About Test Automation in DevOps - August 30, 2023
- 6 Cloud Computing Challenges That Businesses Need to Be Aware of - August 22, 2023


